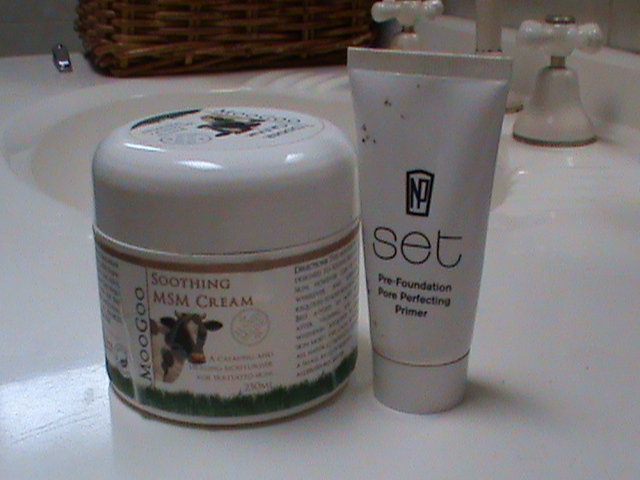
Thanks for joining me in this series on the basic how-tos! we all want to look naturally flawless and with the next few posts we are going to learn how to create that perfect canvas for your makeup looks. Guys dont be disheartened - these are all things you can do to! So lets get started...
PIMPLES
1. DONT pick!!!! ice the area to reduce reddness and inflamation. (i've also heard that eye drops help) Tea tree oil is also great to apply (just make sure it dries prior to makeup.)
2. Foundation the rest of your face like usual (if you typically wear foundation) using clean hands or santised tools. (disposable sponges are great when we have pimples)
3. Choose a dense concealer that is the same colour as your foundation. This should be in a heavy creme constistancy, so that it covers well and stays put. I love Revlon photo ready concealer and coastal scents cameo quad palette in medium (excellent cheap alternative) Both of these products have a great creamy texture and high pigmentation.
4. Dot this on the blemish, then work the edges out with a blending brush (something small, dome shaped tip and fluffy) to seamlessly blend the coverage. DO NOT blend overtop of the pimple - this will dilute the product.
5. Press powder on top to completely ensure the staying power of the concealer.
Remember that covering blemishes requires a very different type of concealer than which we use to conceal under our eyes! So dont be tempted to use this type in that area, unless you like looking older and wrinklier than you are! :)
have a blessed day my friends.
joanna xo

PIMPLES
1. DONT pick!!!! ice the area to reduce reddness and inflamation. (i've also heard that eye drops help) Tea tree oil is also great to apply (just make sure it dries prior to makeup.)
2. Foundation the rest of your face like usual (if you typically wear foundation) using clean hands or santised tools. (disposable sponges are great when we have pimples)
3. Choose a dense concealer that is the same colour as your foundation. This should be in a heavy creme constistancy, so that it covers well and stays put. I love Revlon photo ready concealer and coastal scents cameo quad palette in medium (excellent cheap alternative) Both of these products have a great creamy texture and high pigmentation.
4. Dot this on the blemish, then work the edges out with a blending brush (something small, dome shaped tip and fluffy) to seamlessly blend the coverage. DO NOT blend overtop of the pimple - this will dilute the product.
5. Press powder on top to completely ensure the staying power of the concealer.
Remember that covering blemishes requires a very different type of concealer than which we use to conceal under our eyes! So dont be tempted to use this type in that area, unless you like looking older and wrinklier than you are! :)
have a blessed day my friends.
joanna xo