I have several issues with my skin! It is highly pigmented, and ruddy, i have freckles, occasional breakouts and uneven skin tone. So if i can make my skin look naturally radiant, then so can you.
Here is what i do when i am wanting a flawless foundation look. This may seem like alot of effort to some of you, but once you have it down pat it really takes no time at all. Plus the results are more than worth it!
step 1. Cleanse face with regular cleanser, and for an extra clean finish add some bi-carb to the mix, it'll really brighten and clean your skin.
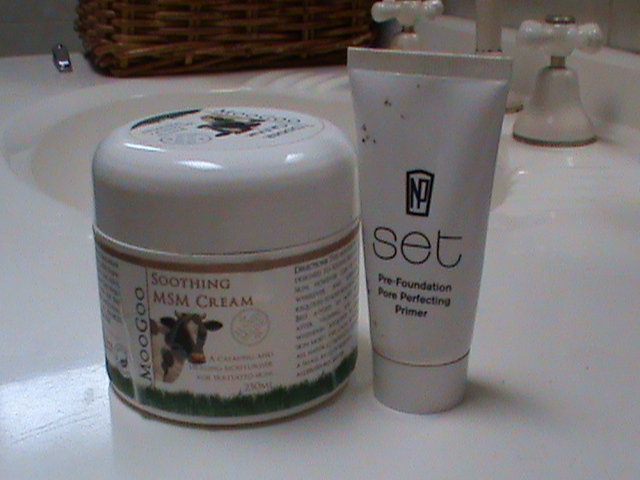
step 2. Apply a moisturiser or a face primer DONT do both unless you have very dry skin as makeup will start to slide off during the day. I would choose primer myself something with moisturising properties.
step 3. Apply a quick coat of your favourite foundation i love OCC's airbrush onesi use (y2 & y3 and also L'oreal true match in N4, i recommend always choosing a more yellow or beige based product rather than pink toned, no-one looks pretty with pink skin! You can use your hands, a brush a sponge or if you have it an airbrush.

step 3. Take a darker foundation in the same formulation or a stick one, (I'm using LA colours in mahogany it costs a few dollars) something 4-5 shades darker, and use this to contour the hollows of the cheek, around the edges of the face,and sides of nose if desired. Blend well. This gives our face a more demensional look. Go over this with a taupe coloured matte blush i love Nyx in taupe, blend well.


step 4. Use a smooth blendable concealer to cover any undereye discolouration, then take a lighter shade and blend over the front of the face in a triangle shape, using the side of the nose as a side of the triangle. This highlights this part of your face and gives a flattering look. Again blend well. I use a blending brush for this as it gives a more flawless coverage, try Mac 217. Cover any additional blemishes at this time.


step 5. Set any concealed areas with a fine powder, i love makeup forever's HD one, but in a pinch cornflour will work a treat.

step 6. Use a cream blush to add life to the cheeks placement should be toward the outer third of the eye and towards the temple. Keep colour higher, let the contour shading do its job. Place a similar powder blush on top to set the colour in. I prefer to use something that has no shimmer i leave the glow for my highlighter.

step 7. Apply a cream illuminator above the blush in a small c shape, I'm in love with naploean Perdis illuminating wheel it has a great range of highlighters and a blush colour. working from about 2cms under eye and round towards the brow. Remember not to place this in wrinkles as it will highlight them! Once again set the look with a fine powder shadow in a similar hue, you want to aim for shimmer not GLITTER. You can also place this highlight on the bridge of your nose to straighten in and on your lips cupids bow to add volume to the lips.

step 8. Set the whole look by spritzing a setting spray over the face in a T then and X shape. DO THIS ONCE YOU HAVE FINISHED ALL OF YOUR MAKEUP. I like mac Fix + spray, and model in a bottle.

Give it a go and see how amazing you can make your skin, with a few extra steps that create a more natural, amazingly flawless canvas!
joanna xo
No comments:
Post a Comment